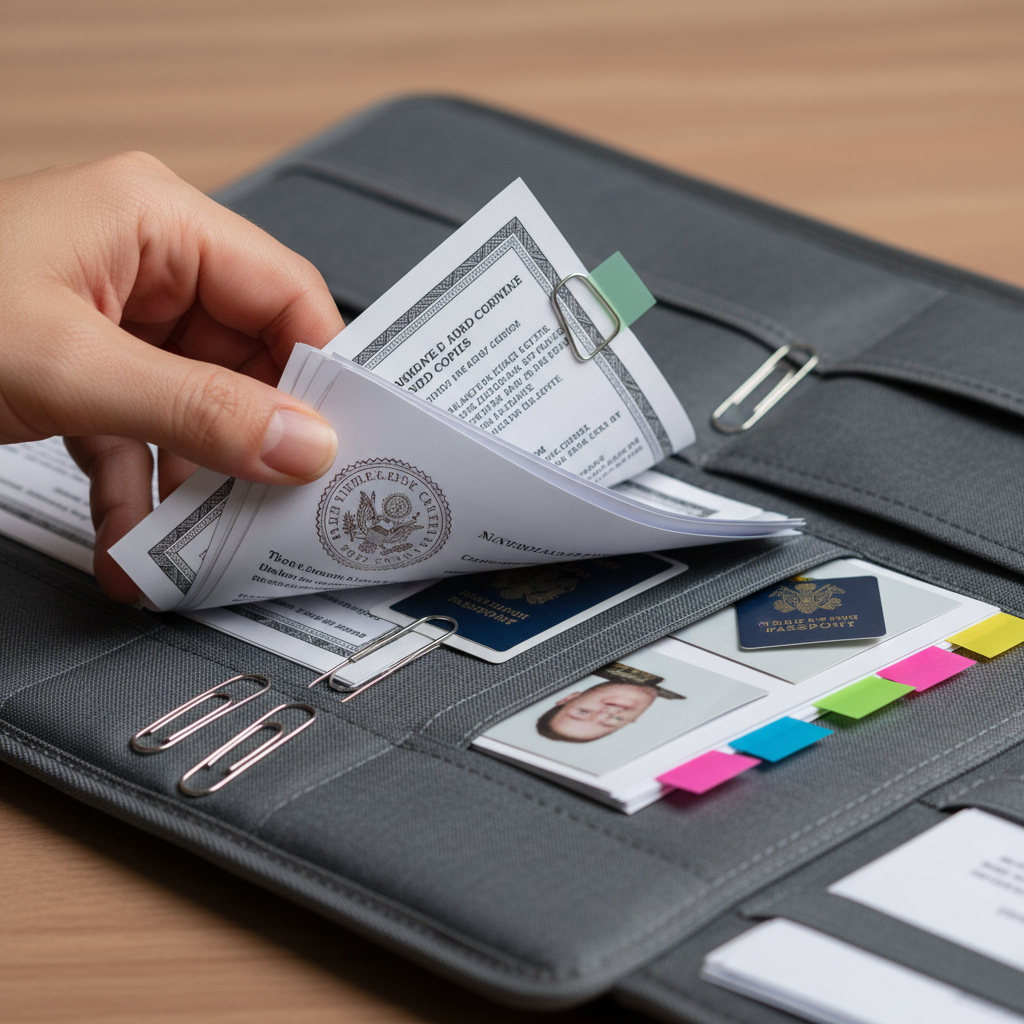
The PR document checklist for Canada is the definitive list of forms and evidence you must submit to get permanent residence approved. For applicants working with Ask Era Immigration at 218 Export Blvd, Suite 403, Mississauga, this checklist organizes proofs, forms, and deadlines so nothing is missed and your file moves smoothly.
By Ask Era · Last updated: May 27, 2026
Overview and table of contents
Use this Canada PR document checklist to gather identity, civil status, education, language, work history, police, medical, proof of funds, and program-specific items. It includes Express Entry, CEC, FSW, PNP, and family pathways, with timelines, pro tips, and a buying guide for ECAs and language tests.
- What the PR document checklist includes and why it matters
- How the Canada PR file flows from eligibility to e-APR
- Program-specific lists: Express Entry, CEC, FSW, PNP, family
- Comparison table: ECA agencies and language tests
- Best practices to avoid ADRs (additional document requests)
- Local logistics for Suite 403 Mississauga and the Regional Municipality of Peel
- Case examples from Ask Era Immigration’s RCIC-led practice
What is a Canada PR document checklist?
A Canada PR document checklist is a structured list of proofs and official forms required by IRCC to assess eligibility, admissibility, and authenticity. It standardizes what you submit—so your identity, experience, education, language, and finances are verified and your application can be decided without avoidable delays.
At its core, the checklist maps every claim in your profile to documentary evidence. Most PR files contain 12–18 core documents plus 3–6 optional exhibits. Strong files reduce the chance of ADRs, which can add weeks or months to processing.
- Identity and civil status: Passports, birth and marriage/divorce records, name change proofs
- Education: Degrees/diplomas, transcripts, and an Educational Credential Assessment (ECA) where required
- Language: IELTS General/CELPIP/PTE Core score reports, valid typically for two years
- Work history: Employer letters, pay records, tax slips; maps to TEER/NOC
- Admissibility: Police certificates (often valid 6 months) and medical exams
- Funds: Bank letters and statements where required
In our experience preparing complete documentation for clients across Express Entry, PNPs, and family streams, clarity and consistency are the difference between smooth approvals and stalled files.
Why this checklist matters
This checklist prevents missing or inconsistent evidence—the top reason files get delayed or refused. It aligns your claims to documentary proof, organizes expiry-sensitive items, and anticipates IRCC questions, so your PR application can move from ITA to final decision with fewer interruptions.
Here’s the thing: PR isn’t only about eligibility points. It’s about proving every point. Without a plan, applicants often lose time to expiring test scores, outdated police checks, or incomplete employment letters. We’ve seen well-qualified candidates slowed by a single missing duty description.
- Fewer ADRs: Files that connect claims to evidence reduce follow-ups
- Expiry control: Language tests last ~24 months; police certificates ~6 months
- Consistency: Dates must sync across resumes, forms, letters, and tax slips
- Traceability: File naming and an index save hours during e-APR upload
When working with clients in Mississauga and worldwide, our RCIC-led team creates a customized plan that sequences tasks to avoid expiry gaps and keeps every proof aligned to the right TEER code.
How the Canada PR process works (and when to collect documents)
Collect documents in two waves: pre-ITA (eligibility proofs like ECA and language) and post-ITA (admissibility items like police and medical). Building early cuts weeks off timelines and prevents expiring results from derailing your e-APR submission.
- Profile & strategy: Confirm program fit (Express Entry, CEC, FSW, PNP, family).
- Pre-ITA build: Order ECA, book language test, assemble work/education proofs.
- Invitation (ITA): Start forms; lock employment letters and proof of funds.
- Post-ITA: Obtain police certificates and panel physician medicals.
- e-APR upload: Name files, cross-check dates, and submit.
- Bio & updates: Complete biometrics; respond to any ADRs fast.
For step-by-step timing and dependencies, see our Canada PR application process and PR timeline guide. A prepared applicant can shave several weeks by overlapping ECA, language testing, and work letter collection.
Program-specific PR document checklists
Different PR programs need the same core proofs but vary on admissibility and eligibility details. Use this section to match your stream—Express Entry, CEC, FSW, PNP, or family—and gather the exact items IRCC expects for each pathway before your e-APR window starts.
Express Entry (FSW/CEC inside the pool)
- Identity: Valid passports for all family members, digital photos
- ECA: Required for foreign education (degree, transcripts, ECA report)
- Language: IELTS General, CELPIP, or PTE Core score report (valid ~2 years)
- Work: Employer letters with job title, duties, hours, pay, supervisor contact; pay slips; tax forms
- Proof of funds: Applicable to FSW and some PNPs; 6-month statements and bank letter
- Police certificates: For each country lived in 6+ months since age 18
- Medical exam: Panel physician exam (often after ITA)
For a focused walkthrough, see our Express Entry document checklist and eligibility guide.
Canadian Experience Class (CEC)
- Proof of qualifying Canadian work: Employer letters confirming NOC/TEER duties and paid hours
- Tax evidence: T4s/NOAs or payroll records aligning to dates claimed
- Language test: Valid results meeting CEC thresholds by TEER level
- Education: ECA if claiming foreign education points
- Admissibility: Police certificates and medicals as required
Federal Skilled Worker (FSW)
- Minimum eligibility proof: One year continuous skilled experience in the same NOC/TEER
- ECA: Mandatory for foreign education points
- Language test: Meets FSW minimum in all bands
- Proof of funds: Bank letter with average balances and 6-month statements
- Settlement plan (optional): Job search or landing plan notes can strengthen narrative
Provincial Nominee Programs (PNPs)
- Nomination certificate: Provincial nomination and supporting forms
- Tie to province: Job offer letters, past study/work, or family ties as applicable
- Program add-ons: Some streams require employer forms or additional proof of funds
Family sponsorship (spousal/partner)
- Relationship proofs: Marriage certificate, photos, chats, travel history, affidavits
- Sponsor eligibility: Status in Canada and undertaking forms
- Admissibility: Police certificates, medical exams, and biometrics
Planning a family file? Our PR checklist for families and spousal sponsorship checklist explain evidence standards and common pitfalls.
Documents at a glance: one-page table
This table condenses the most requested PR documents and where they apply. Use it as your dashboard while assembling files, then expand each item in the sections that follow to match IRCC’s evidence expectations for your stream.
| Document | Who Needs It | When to Get It | Expiry/Notes |
|---|---|---|---|
| Passport + photos | All applicants | Pre-ITA | Photos per IRCC specs; renew passports if within 6–12 months |
| Language test (IELTS/CELPIP/PTE Core) | Express Entry, some PNPs | Pre-ITA | Results valid ~2 years; book early |
| ECA (WES, IQAS, CES, ICES, ICAS) | FSW/Express Entry with foreign education | Pre-ITA | Reports often used for 5 years; keep sealed copies where required |
| Employment letters + pay/tax | All skilled streams | Pre- to Post-ITA | Must list duties matching TEER; align dates/pay |
| Proof of funds | FSW/some PNPs | Post-ITA | 6-month statements; maintain balances until landing |
| Police certificates | All adults 18+ | Post-ITA | Often valid 6 months; order quickly after ITA |
| Medical exam | All applicants | Post-ITA | Panel physician only; valid for 12 months |
| Biometrics | Most applicants | After biometrics letter | Complete promptly to avoid delays |
Buying guide: choosing ECA and language tests
Select your ECA agency and language test based on speed to result, availability in your region, and how IRCC recognizes scores. Matching the right provider to your timeline can save weeks and secure CRS boosts before an ITA round closes.
How to choose an ECA agency
- Coverage: Confirm your credential level and country are assessed
- Turnaround: Processing can vary; faster isn’t always better if documents are tricky
- Logistics: Some require transcripts sent directly from institutions
- Reusability: Reports are commonly accepted across programs for years
| ECA Provider | Notes | Good For |
|---|---|---|
| WES | Broad coverage; well-known by employers | General Express Entry |
| IQAS | Popular for certain regions; mailing steps vary | Applicants with complex credentials |
| CES/ICES/ICAS | Alternative agencies with program recognition | When WES/IQAS slots are limited |
How to choose a language test
- IRCC-recognized: IELTS General, CELPIP, PTE Core for skilled worker streams
- Convenience: Center locations and earliest test dates
- Score strategy: Retakes within validity can materially lift CRS
| Test | Format | Standout Factor |
|---|---|---|
| IELTS General | Paper or computer | Global availability |
| CELPIP | Computer-based | One-sitting format popular in Canada |
| PTE Core | Computer-based | Fast scheduling in many cities |
Best practices to avoid delays
Build a verifiable story across every document. Use duty-aligned letters, date-sync’d forms, and clear file names. Sequence expiry-sensitive items late but not last-minute, and respond to IRCC requests within days—not weeks—to keep momentum.
- Job duties first: Align duties to TEER/NOC language without copying verbatim
- Date harmony: Resumes, letters, tax slips, and forms must match day/month/year
- Police timing: Order immediately after ITA to maximize the 6-month validity
- Funds stability: Maintain required balances continuously until landing
- File hygiene: Use a naming standard (e.g., 01_Passport_PrincipalApplicant.pdf)
- Index + cross-reference: Include a one-page index mapping claims to evidence
We document every client case with an internal evidence matrix that mirrors the e-APR sections. That matrix helps answer officer questions quickly if an ADR arrives.
Tools and resources we recommend
Use checklists, date trackers, and a document index to keep proofs aligned. Combine these with IRCC forms, panel physician locators, and police certificate portals so your e-APR upload day is orderly and stress-free.
- Program guides: Start with our PR process guide for flow and timing
- Express Entry docs: See Express Entry papers for item-level details
- Timeline tracker: Use the milestones in our PR timeline article
- Citizenship next: Plan ahead with our citizenship guide
A simple spreadsheet with columns for “document,” “who,” “requested,” “received,” and “expiry” can cut your prep time by 20–30% and prevent last-minute scrambles.

Local document and logistics tips for Mississauga and Peel
If you’re near Suite 403 Mississauga in the Regional Municipality of Peel, plan police checks, biometrics, and medicals with local schedules in mind. Booking early, aligning family appointments, and confirming panel physician availability remove common last‑mile bottlenecks before e‑APR.
Local considerations for Suite 403 Mississauga
- Transit timing: If you rely on buses near Hurontario St At Derry Rd, build buffer time into biometrics and medical appointments.
- Seasonal demand: Summer intake and year‑end holidays create rush periods. Reserve test centers and ECAs earlier than usual.
- Neighborhood tip: For family applicants, stagger appointments but keep the same week to simplify e‑APR uploads and status tracking.
We also coordinate drop‑ins and courier pickups around Mississauga’s Ram Mandir area to help clients finalize notarizations and photographs the same day they receive their ITA.
Case examples from Ask Era Immigration
Our RCIC-led team uses a document matrix to tie every claim to proof. This approach minimized ADRs and helped clients in CEC, FSW, and PNP streams move from ITA to approval with fewer interruptions and tighter timelines.
- CEC analyst, Mississauga: We rebuilt employer letters with duty language mapped to TEER 1; added T4s; approval with no ADRs.
- FSW engineer, overseas: Sequenced ECA and IELTS, then timed police certificates within two weeks of ITA to avoid expiry.
- Ontario PNP nominee: Consolidated job offer and settlement ties; ensured funds balance stability through the entire review period.
- Spousal PR: Curated photos, travel logs, and affidavits; cross‑checked chats and dates; interview waived.
The reality is, complete documentation is your performance edge. A structured checklist turns thousands of data points into one coherent story an officer can verify quickly.
Frequently asked questions: Canada PR documents
These quick answers cover validity, proof of funds, employer letters, and expired results. Use them to plan timing and avoid common mistakes that trigger additional document requests or slow down your e‑APR.
How long are language test results valid for PR?
Language test results such as IELTS General, CELPIP, or PTE Core are typically valid for about two years from the test date. Book early, but plan room for one retake if you’re targeting a higher CRS band before ITA.
What should be in an employment reference letter?
Include job title, full‑time/part‑time status, paid hours per week, start/end dates, salary, and detailed duties aligned to your TEER/NOC. Add company letterhead and supervisor contact. Dates must match your resume and tax or payroll evidence.
When do I need police certificates?
Obtain police certificates after receiving your ITA so they’re recent at the time of e‑APR. Adults 18+ typically provide a certificate from each country where they lived 6 months or longer since turning 18.
Do all streams require proof of funds?
Not all. FSW and many PNP streams require proof of funds unless you have a qualifying job offer. CEC applicants with authorized work in Canada often do not need to show settlement funds, but must still meet all other criteria.
What if my passport expires soon?
Renew before e‑APR if your passport expires within the next 6–12 months. Upload the new passport and include a short note in your file index so the officer understands the document change and your travel identity remains valid through processing.
Key takeaways and next steps
A complete, consistent PR document package wins time and trust. Map each claim to evidence, control expiries, and keep a clean index. If you want hands‑on help, our RCIC‑led team in Mississauga builds tailored checklists and manages your e‑APR uploads end‑to‑end.
- Start with ECA and language; plan for one retake window
- Collect employer letters with TEER‑aligned duties and pay evidence
- Time police and medicals after ITA to maximize validity
- Use a document index and file‑naming convention
- Track every expiry date until you land
Need a second set of eyes? Book a consultation and we’ll pressure‑test your checklist against our document standards and submission workflow. For general context on PR steps, see guidance from Vikram Law’s process guide and this requirements overview.
Soft CTA — Work with an RCIC
Ask Era Immigration is RCIC‑led and CAPIC‑affiliated. We assess your profile, create a customized plan, prepare you for interviews, and ensure complete documentation from pre‑ITA to landing. We support Express Entry, CEC, FSW, PNPs, study permits, work permits, and family sponsorships.